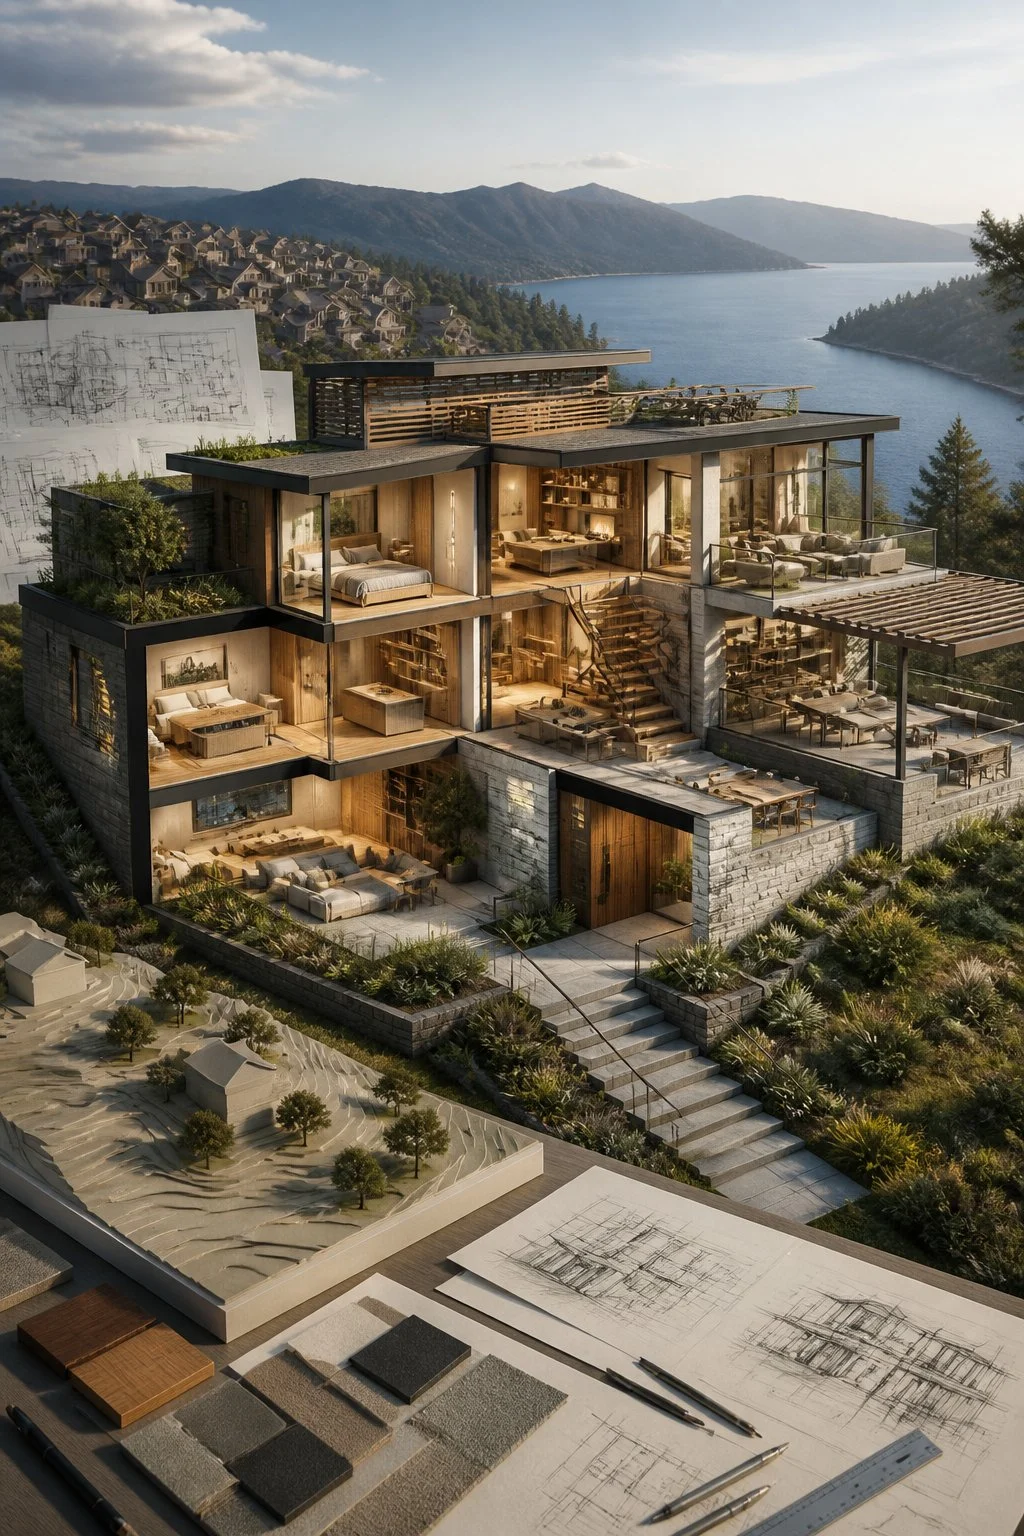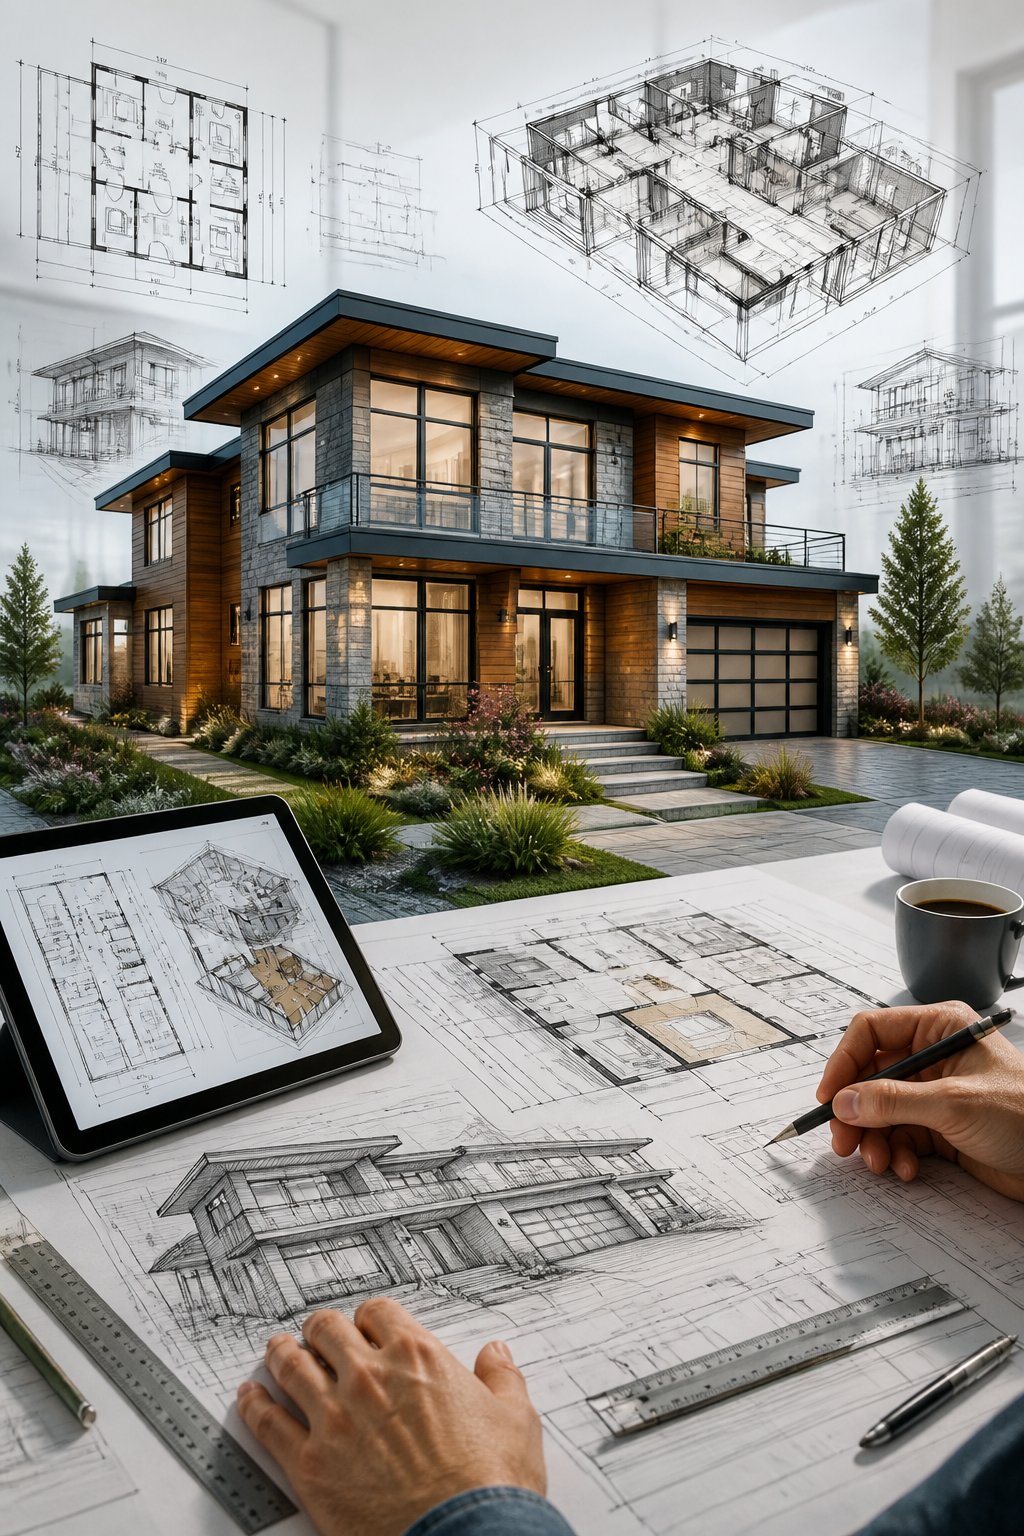
You can hand your concept to several professionals who will convert ideas into construction-ready house plans: architects, residential designers, and experienced plan services. An architect or licensed designer will translate your needs into accurate, code-compliant drawings, while custom plan services and design-build firms offer faster, often more affordable pathways that still deliver detailed blueprints. Each option fits different budgets, timelines, and levels of personalization.
Decide how involved you want to be: work directly with an architect for full creative control and site-specific solutions, hire a drafting service to refine sketches into technical plans, or use a design-build team that combines planning and construction under one contract. Expect clear steps—consultation, schematic layouts, revisions, and final construction documents—and confirm credentials, fees, and permit support before you commit.
Key Takeaways
- Choose the professional type based on budget, timeline, and how much design control you want.
- Expect an iterative process that turns ideas into technical, permit-ready plans.
- Verify credentials and permit support to avoid surprises during construction.
Roles Involved in Home Design
You need professionals who translate your ideas into buildable, permit-ready drawings and coordinate technical details like structure and code compliance. Expect different skills, fees, and deliverables depending on who you hire.
Residential Designers and Draftsmen
Residential designers and draftsmen turn your brief into detailed floor plans and construction drawings you or a builder can use. A residential designer focuses on layout, flow, and interior function; they often help with material and finish choices. A draftsman specializes in precise technical drawings—plans, elevations, and basic sections—using CAD or Revit so contractors can estimate and build.
Expect deliverables such as dimensioned plans, roof layouts, and a basic window and door schedule. Many designers can produce permit drawings, but confirm who will sign and submit documents for approvals. Fees tend to be lower than licensed architects, and timelines are typically faster, making them a practical choice for straightforward custom homes or renovations.
Evaluating Your Project Needs
You need clear priorities: what you must have, what you can compromise on, and how much you can spend. Nail down room sizes, site constraints, and an absolute budget before you talk to professionals.
Understanding Project Scope and Budget
List must-have spaces and approximate sizes so professionals know the true scope. For example: master suite 250–300 sq ft, kitchen 200–300 sq ft, two-car garage 20′ x 22′. Note special spaces such as a home office, workshop, or accessible features.
Estimate hard costs (construction, site work, utilities) and soft costs (permits, engineering, architect/designer fees, contingency). A simple way to organize:
- Hard costs: materials, labor, foundation, systems.
- Soft costs: drawings, permits, inspections, financing.
- Contingency: 5–15% of hard costs for unknowns.
Decide what you will manage versus what you’ll hire out. If you plan to act as your own general contractor, expect different fee structures from architects and consultants.
Identifying Design Preferences and Requirements
Translate lifestyle into measurable requirements: number of bedrooms, preferred ceiling heights, storage needs, and daily circulation paths. Specify specifics like minimum closet sizes, desired daylighting, or private outdoor rooms.
Collect visual references — photos, floor plans, or links — and note why you like them: material palettes, window placement, or traffic flow. This helps an architect or designer move from vague taste to concrete decisions.
Also document site constraints: setback lines, slope, prevailing winds, and view corridors. Those factors directly affect window placement, foundation type, and energy strategy.
Collaborating With Design Professionals
You’ll need a clear brief, the right contacts, and a process for feedback and approvals. Expect iterations, measurable deliverables, and roles defined so decisions and costs stay under control.
Effective Communication of Your Vision
Start with concrete materials: a list of required rooms, preferred square footage, sketches or inspiration photos, and a priority ranking for must-haves versus nice-to-haves. Bring measurements or a site survey when available so designers can account for topography, setbacks, and solar orientation.
Use measurable language during meetings—state exact storage needs, appliance models, ceiling heights, and targeted budget ranges. Ask designers to translate your priorities into a short written brief and a three-item checklist they will meet on the first concept.
Set communication rules: preferred tools (email, shared cloud folder, or project management app), response times for questions, and a revision schedule. Reserve decision-making authority to a named person to avoid conflicting direction during design or construction.
Design Consultation Process
Expect an initial consult to cover scope, timeline, and deliverables—typically a site walk or video tour, followed by a written proposal. The proposal should list phases (concept, schematic, construction documents), rounds of revisions, and what’s included in each fee.
During concept design, review bubble diagrams and two-to-three layout options. Provide feedback that is specific: call out room adjacencies you want changed, exact circulation paths, or changes to window sizes. Ask for a cost-impact note for major changes.
Before construction documents, confirm selections for finishes, door/window schedules, and structural assumptions. Require a final checklist and stamped plans from the architect or designer for permitting. If you don’t have a builder yet, request referrals—design firms often connect you with local builders who understand the drawings and can refine cost estimates.
Translating Ideas Into Technical Drawings
You will learn how rough concepts become precise documents builders use and how those documents must meet local rules so permits and inspections succeed.
From Concept Sketches to Blueprints
Start by giving a designer or architect clear inputs: hand sketches, measurements, photos of the lot, and a prioritized list of rooms and functions. They translate those into scaled plans using CAD or BIM software, producing floor plans, elevations, and sections that show dimensions, materials, and structural elements.
Expect iterative review cycles. The first draft focuses on layout and circulation; subsequent revisions add window sizes, door swings, cabinet locations, and stair details. Ask for annotated PDFs and an editable CAD file so contractors can take off quantities and you can authorize changes without redrawing everything.
If you prefer automated tools, try AI-assisted sketch-to-plan services to get a base model quickly, then hand it to an architect or draftsperson for code checks and structural input.
Ensuring Compliance With Codes and Regulations
You must confirm plans comply with local building codes, zoning setbacks, height limits, and energy or accessibility requirements before you submit for permits. A licensed architect or engineer stamps plans for structural, mechanical, or electrical systems when jurisdiction requires professional certification.
During plan preparation, the team should verify lot-specific rules: floodplain elevation, easements, and homeowner association design controls. They will include required details—foundation type, live-load calculations, egress paths, and mechanical ventilation—so the building department can review without repeated resubmissions.
Keep organized documentation: permit application forms, soil reports, and indexed plan sheets. That reduces review time and prevents costly on-site changes once construction begins.
Legal and Regulatory Considerations
You must secure approvals, follow local zoning rules, and meet building-code requirements before breaking ground. Missing one of these can delay permits, increase cost, or force plan revisions.
Obtaining Necessary Permits
You need a building permit from your local permit office before construction, and your permit application must include sealed plans if your jurisdiction requires licensed professionals. Confirm whether your county or city requires an architect or licensed drafter for permit-ready drawings; some allow a residential drafter while others mandate a licensed architect for certain project sizes or occupancy types.
Prepare a complete permit packet: site plan, floor plans, elevations, structural calculations, energy compliance forms, and any specialty reports (geotechnical, stormwater, or traffic) your municipality requests. Expect plan review fees, inspection fees, and a timeline that can range from a few weeks to several months depending on complexity.
Coordinate inspections during construction—foundation, framing, mechanical, and final—so inspectors can verify code compliance. Keep copies of approved plans and approved changes on site; inspectors often check revisions against the permit set.
Adhering to Zoning Laws
Zoning controls where you can build and what you can build on your lot. Check zoning designation for setbacks, lot coverage, height limits, permitted uses, and accessory-dwelling-unit rules before you finalize plans.
Request a zoning verification or pre-application meeting with planning staff to confirm allowed uses and identify variances or conditional-use permits you might need. If your design exceeds setbacks or height limits, prepare a variance application with a site plan, narrative explaining hardship, and photos of neighboring properties.
Understand overlay districts and special requirements such as historic preservation, floodplain restrictions, or tree-protection ordinances. These overlay rules can add design constraints or require mitigation measures and should influence your site placement and massing decisions early.
Respecting Local Building Codes
Local building codes set minimum standards for safety, structural integrity, fire protection, accessibility, and energy efficiency. Determine whether your jurisdiction enforces the International Residential Code (IRC), International Building Code (IBC), or a state-modified version.
Designers must include code-required elements: egress window sizes, stair dimensions, handrail heights, fire separation walls, and required smoke/CO detectors. For energy compliance, provide either prescriptive measures or a compliance report (REScheck/energy-model) as required.
Contractors and designers share responsibility: the plans must show code compliance, and the builder must execute to those plans. If you reuse or adapt an existing floor plan, verify copyright and ownership of those drawings and obtain written permission or license before submitting them for permits.